

How to Run Local LLM across multiple devices on your network

Usman AshrafJun 29, 2026
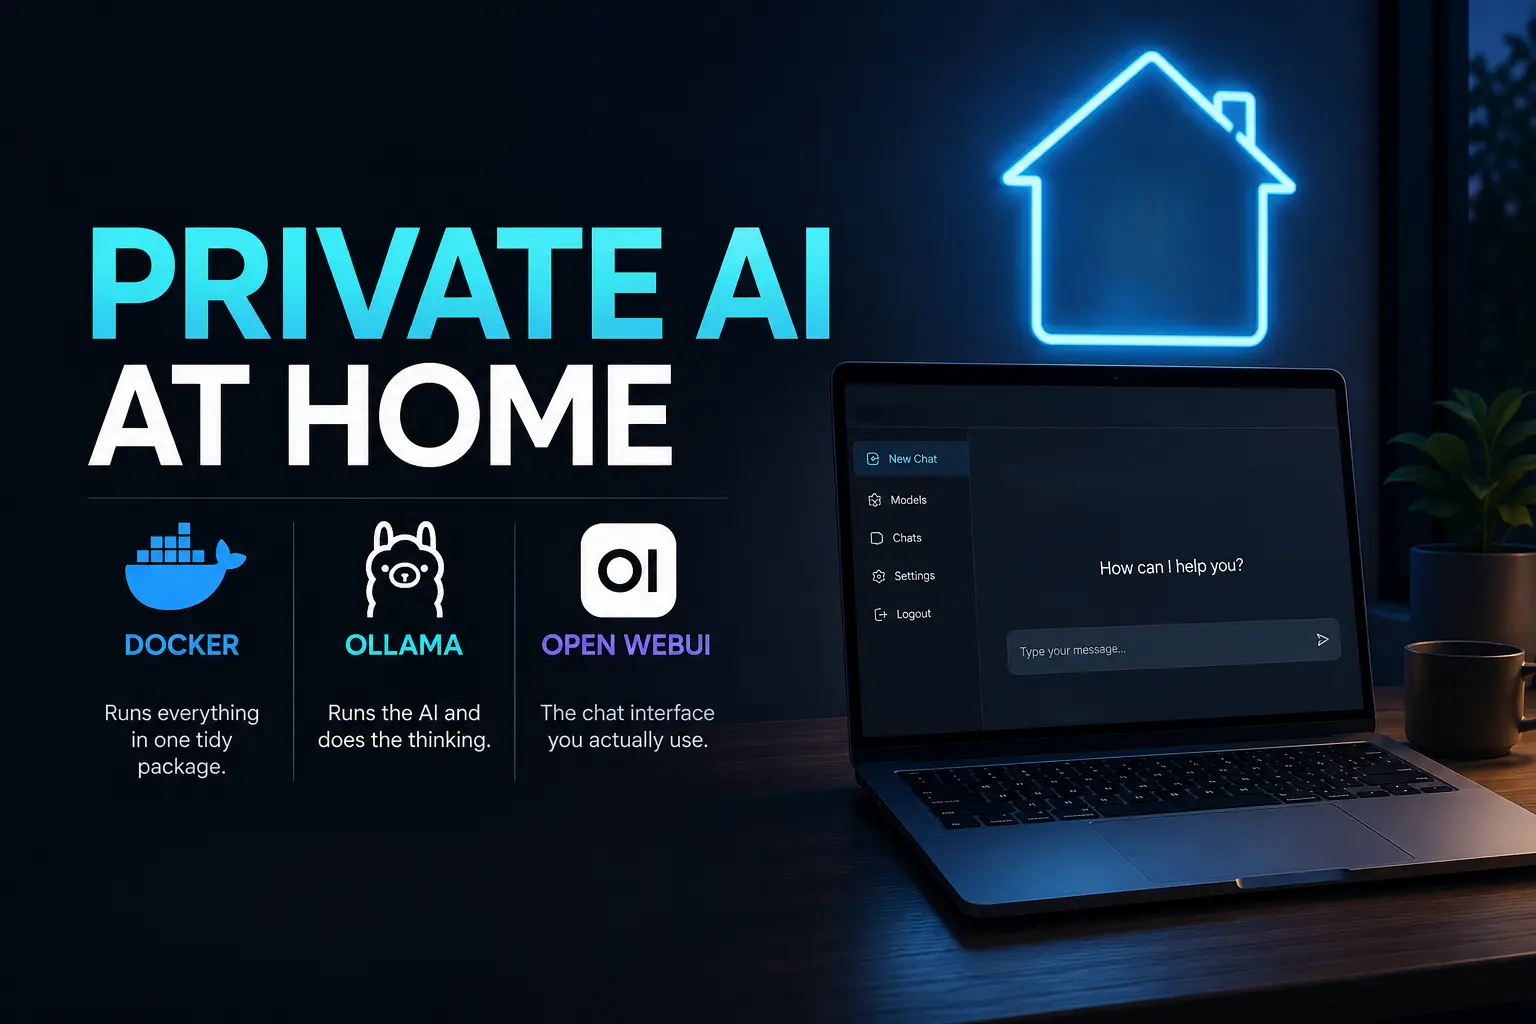
Private AI at home setup with Docker, Ollama, Open WebUI, and a laptop running a local chat interface.

Introduction

You are paying a monthly fee for an AI tool that lives on someone else's computer. Every question you type travels across the internet, gets answered, and leaves a copy sitting on their servers. And the moment your connection drops, it stops working.

Well, you can enjoy the benefits of AI without these issues. There is another way: you can run your own AI on a single computer in your home or office. No monthly fee, your messages stay on your system, and it keeps working even when the internet is down. By the end of this guide, you will have your own AI chatbot running on your network (usable from any normal web browser)

What does running an LLM locally means?

Many popular AI chat tools like ChatGPT and Claude run on computers somewhere far away. You type a question, it travels across the internet, an answer comes back, and a copy of what you wrote sits on their servers. This works well, but has trade-offs. 

  • You usually pay a monthly fee.
  • Your messages pass through someone else's servers. 
  • The tool stops responding if the connection drops.
  • Random outages can disrupt your work.
  • Privacy is disturbed. 

On the other hand, a local LLM runs on a computer you own.

For a home chat, keeping things private is a convenience. For a business, that's the whole point. For a company, customer records and internal documents moving through an outside server is a real liability, and the usual answer is a private model trained on your own data, the territory of generative AI solutions.
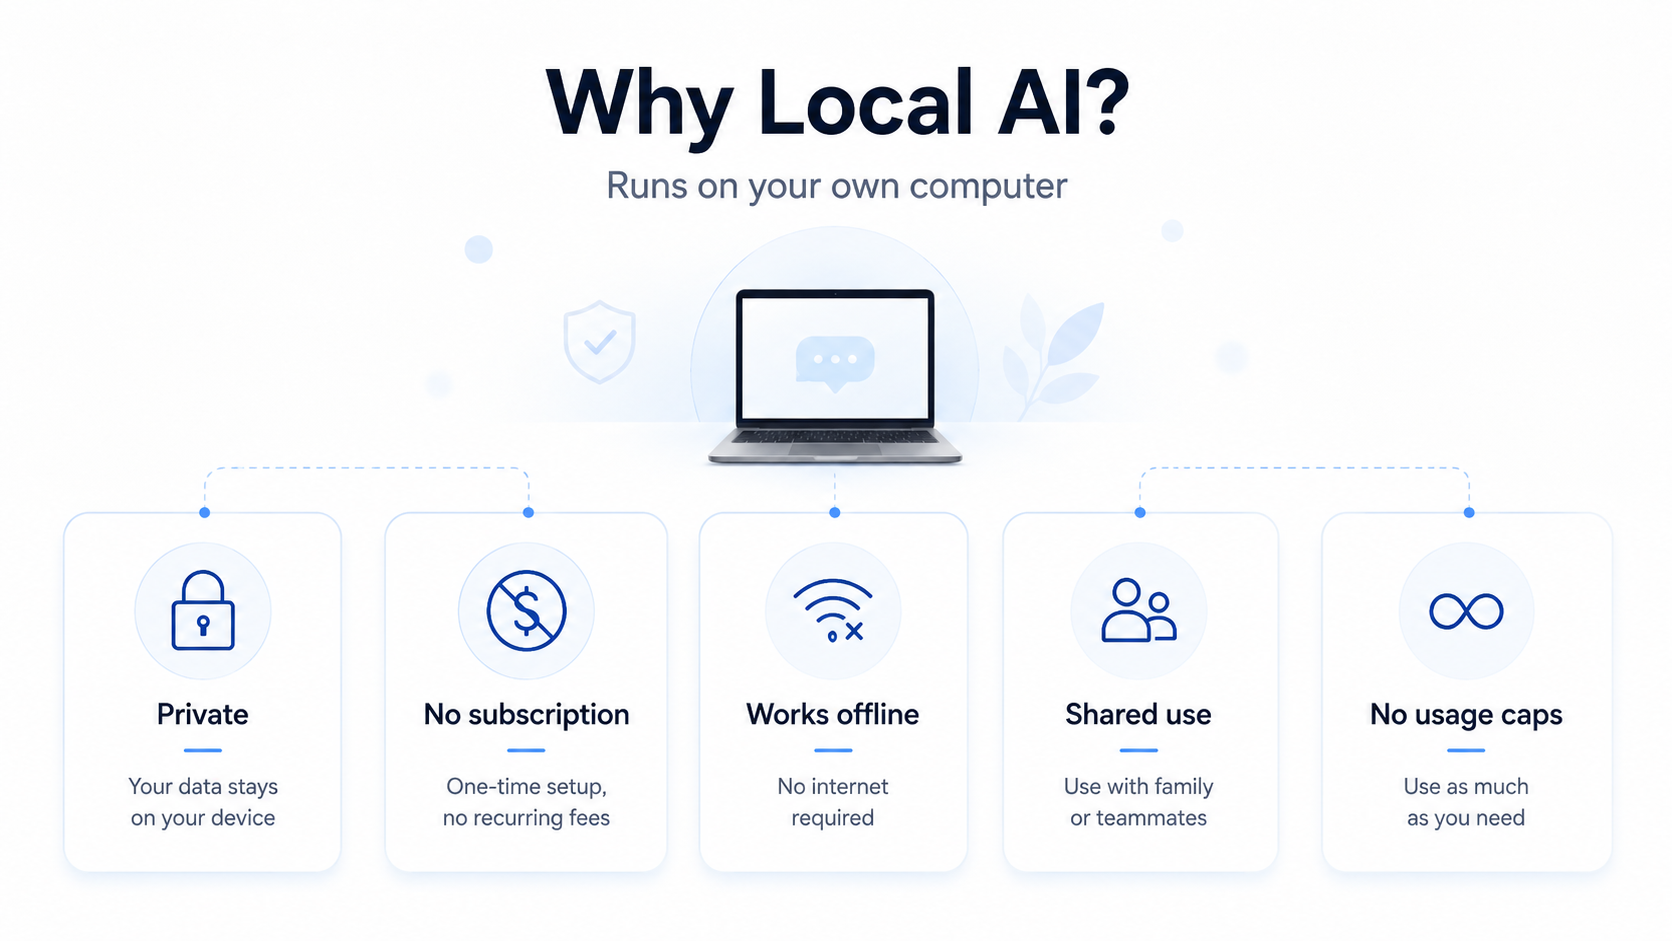
Diagram showing five benefits of local AI: privacy, no subscription, offline access, shared use, and no usage caps.

The Three Tools You Will Use

Three names show up in this guide. You only need to know what each one is for.

Docker is the container. It runs everything else in one tidy package and isolates chatbot from the rest of your computer. You only need to install Docker. Once it's running, Docker automatically downloads, installs, and sets up Ollama and Open WebUI for you.
Docker website showing secure AI agent adoption

Ollama is the engine. It runs the AI and does the thinking. On its own it has no screen and no buttons, like a car engine sitting on a workbench.
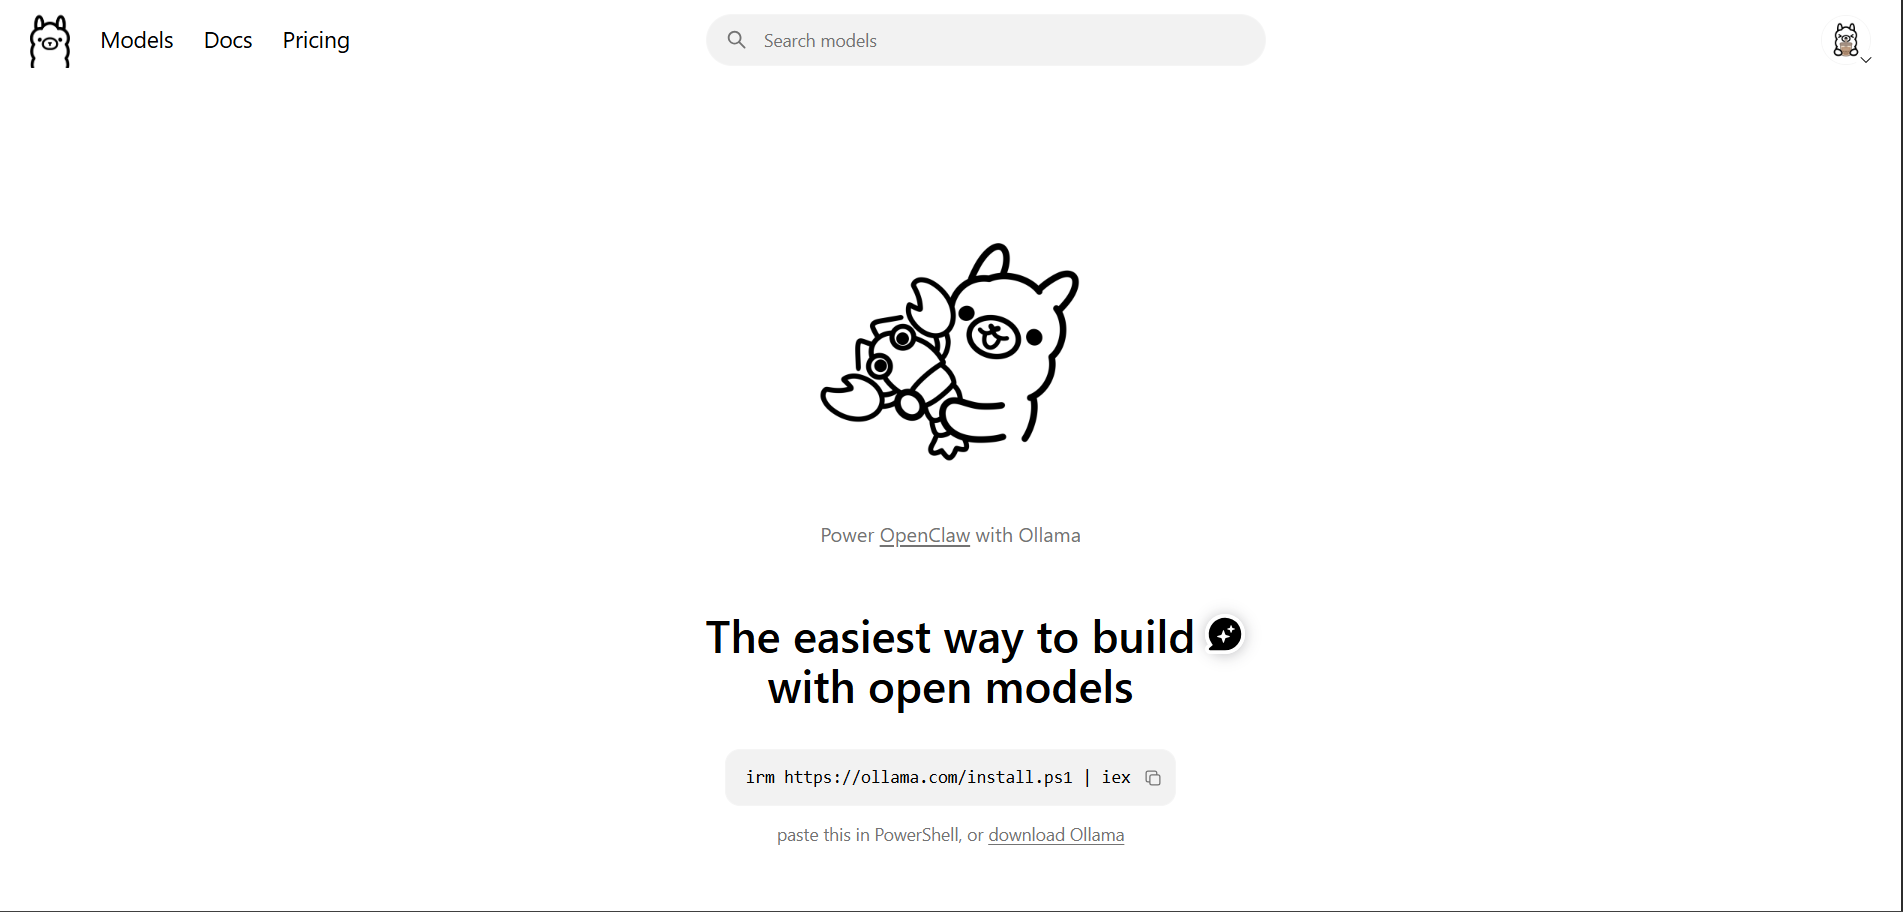
Ollama website showing its open model platform, OpenClaw integration, and a PowerShell installation command.

Open WebUI is the dashboard. It gives you a chat page with a login, a model picker, and a message box, and it talks to Ollama in the background.
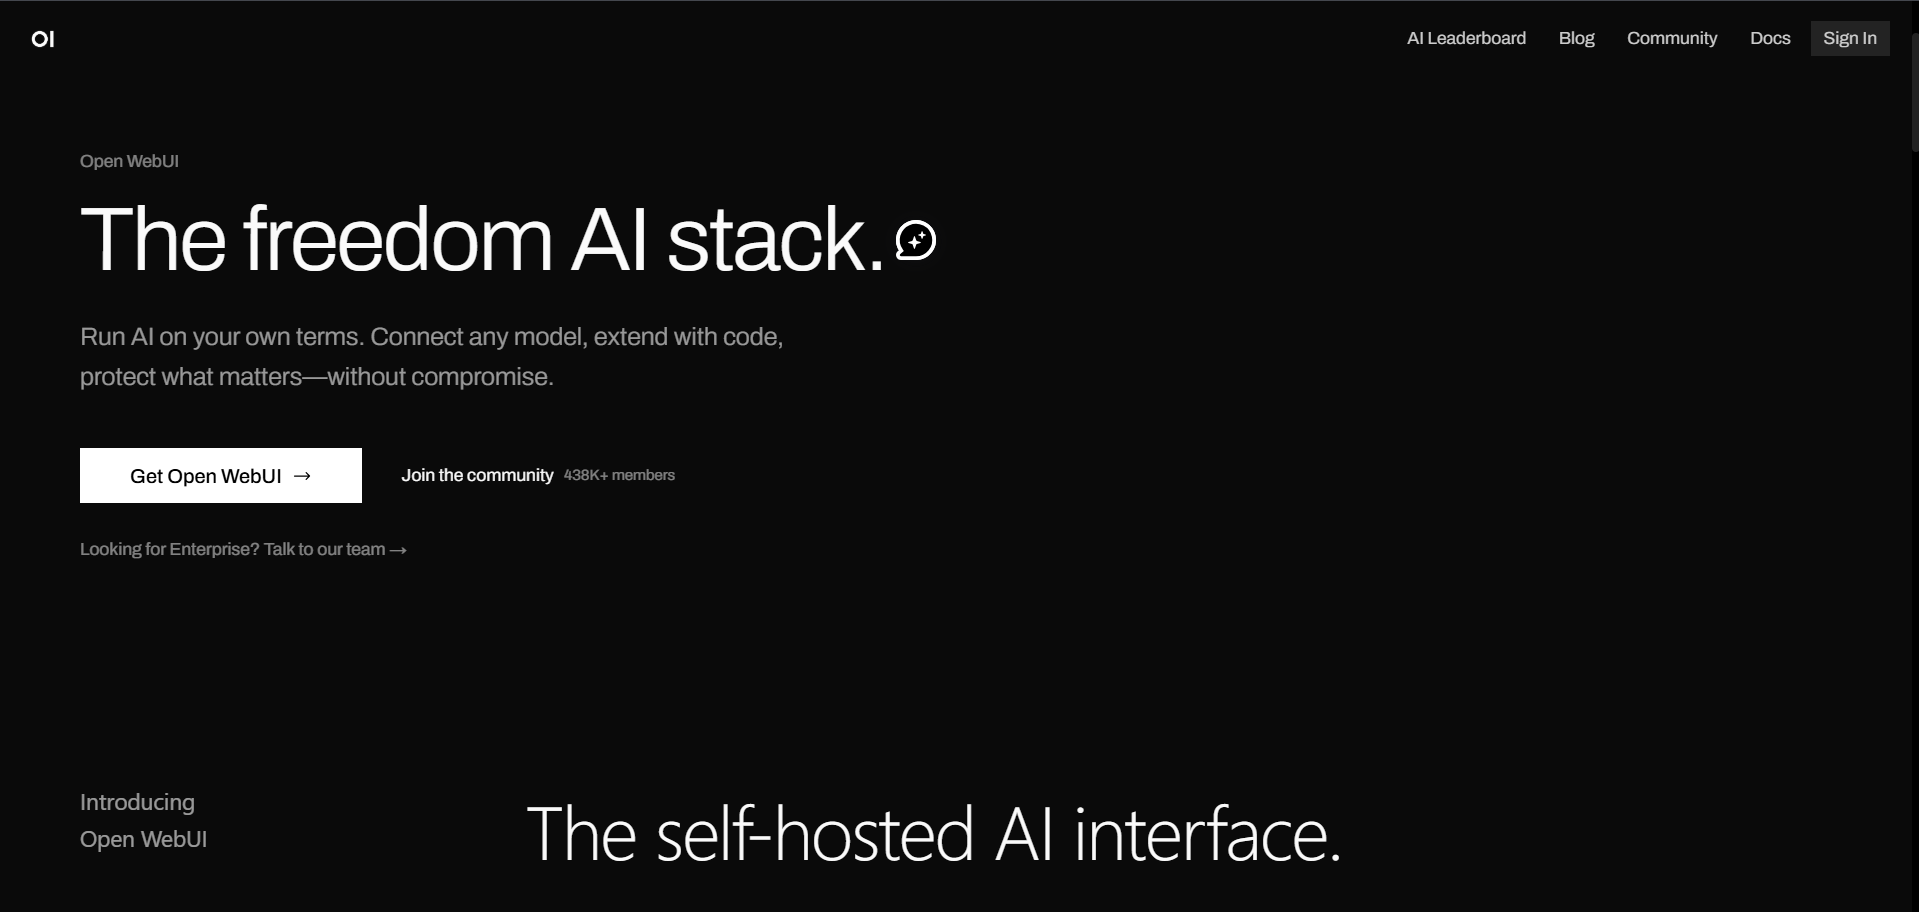
Open WebUI homepage presenting a self-hosted AI interface for connecting models, extending with code, and protecting data.

Put together: Docker holds everything, Ollama does the work, and Open WebUI is the screen you actually use.

What You Need Before Starting

Note: This guide uses a small AI model that runs on the CPU. Larger models typically require a dedicated GPU for good performance.

  • A computer to act as the host and stay powered on while people use the AI.
  • At least 16 GB of RAM recommended.
  • Docker Desktop (installed in the next step).
  • The same network. Any devices that will use the AI must be connected to the same Wi-Fi or wired network as the host computer.

A GPU is helpful but not required for this guide.

How to Install a Local LLM on Windows

Installing a local LLM on Windows only takes a few steps. You'll install Docker, create a small setup file, start the AI, and then open it in your web browser. Just follow each step in order, and you'll have your own private chatbot running on your computer.

Step 1: Install Docker

Go to the official Docker website, download Docker Desktop for your system (Windows, Mac, or Linux), and install it the same way you would install any normal app.
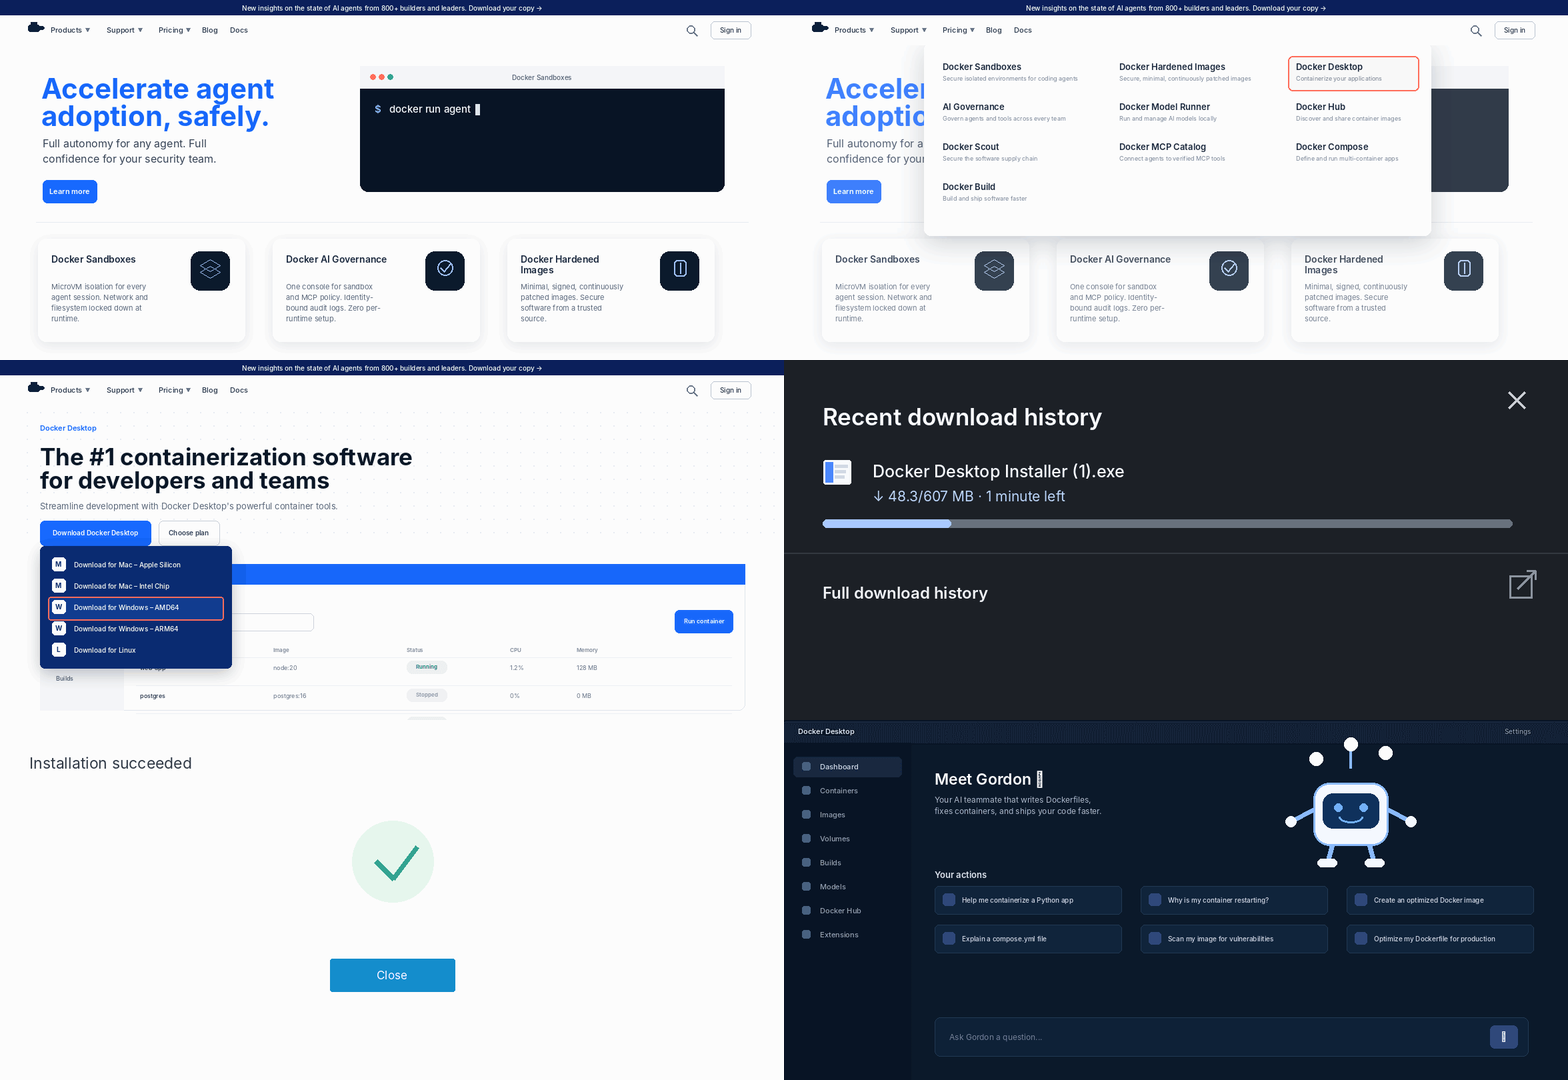
GIF showing how to download Docker Desktop, run the installer, and complete the installation on a computer.

When the installation finishes, open Docker once and leave it running in the background. A small whale icon will appear near the clock or menu bar, indicating that Docker is ready to use.

Docker Desktop running on Windows with the Docker engine active and ready to launch containers.

Step 2: Create the Setup File

One small file tells Docker exactly what to run. You create it with a couple of commands, so there is no text editor to open and no file to rename.

Open PowerShell. First, create a folder for the project and move into it:

PowerShell
cd ~\Desktop
mkdir Local-AI -Force
cd Local-AI

That makes a folder called Local-AI in your home folder. Everything from this point onward will happen within this folder.

Now create the setup file. Copy the whole block below, paste it into PowerShell, and press Enter.

PowerShell
@'
services:
  ollama:
    image: ollama/ollama:latest
    container_name: ollama
    ports:
      - "11435:11434"
    environment:
      - OLLAMA_NUM_PARALLEL=1
      - OLLAMA_MAX_LOADED_MODELS=1
      - OLLAMA_KEEP_ALIVE=24h
      - OLLAMA_FLASH_ATTENTION=1
    volumes:
      - ./ollama_data:/root/.ollama
    entrypoint:
      - /bin/sh
      - -c
      - |
        ollama serve &
        pid=$$!
        echo "Waiting for Ollama server to start..."
        while ! ollama list >/dev/null 2>&1; do
          sleep 1
        done
        echo "Ollama server is up. Checking for qwen3.5:0.8b..."
        if ! ollama show qwen3.5:0.8b >/dev/null 2>&1; then
          echo "Model qwen3.5:0.8b not found. Pulling..."
          ollama pull qwen3.5:0.8b
        else
          echo "Model qwen3.5:0.8b already exists."
        fi
        if ! ollama show qwen3.5-fast:latest >/dev/null 2>&1; then
          echo "Creating qwen3.5-fast (thinking disabled)..."
          printf 'FROM qwen3.5:0.8b\nSYSTEM "/no_think"\n' > /tmp/Modelfile
          ollama create qwen3.5-fast -f /tmp/Modelfile
        fi
        echo "Setup complete. Keeping Ollama server running..."
        wait $$pid
    restart: unless-stopped

  open-webui:
    image: ghcr.io/open-webui/open-webui:main
    container_name: open-webui
    ports:
      - "3000:8080"
    environment:
      - OLLAMA_BASE_URL=http://ollama:11434
    volumes:
      - open-webui-data:/app/backend/data
    depends_on:
      - ollama
    restart: unless-stopped

volumes:
  open-webui-data:
'@ | Set-Content docker-compose.yml

Keep this PowerShell window open. You are already in the correct folder for the next step.

In plain terms, this file tells Docker to:

  • Run the AI engine (Ollama) and the chat screen (Open WebUI) together as a pair.
  • On the first start, it downloads a small AI model called qwen3.5:0.8b, which is about 1 GB.
  • Build a second "fast" version of that model that skips the slow thinking-out-loud step, so replies come back quicker.
  • Save everything to folders on your disk, so nothing is lost when the computer is switched off.

Step 3: Start the chatbot

Now you start everything with a single command. Open a command window inside the folder you made. On Windows that's PowerShell, on a Mac it's Terminal. Type this and press Enter:

docker compose up -d

The -d part means "run it quietly in the background." The first run downloads the AI model, so give it a few minutes. After that, Docker uses the model you already downloaded.

Terminal running docker compose up -d to start the local LLM services in the background.

Want to watch the progress while it works? Run this to see what it is doing:

docker compose logs -f

When you see a line saying the setup is complete, the hard part is over. Press Ctrl + C to close the log view. This only closes the log view. The AI keeps running.

If you ever want to confirm the model downloaded correctly, run:

docker exec -it ollama ollama list

You should see qwen3.5:0.8b in the list, around 1 GB in size. If it is there, you are ready to chat.

Terminal running docker exec -it ollama ollama list to display the local AI models installed in the Ollama container.

Step 4: Open the Chat Page

On the host computer, open your web browser and go to this address:

http://localhost:3000

The first time, it asks you to register. The very first account you create automatically becomes the admin, which is the owner account. This sign-up happens on your own computer, so use any email and password you like, and write them down somewhere safe.

Pick qwen3.5:0.8b, or the quicker qwen3.5-fast version, type a message, and you are chatting with your own private AI.

GIF showing Open WebUI registration, selecting a Qwen model, and starting a private local AI chat.

How to Use Chatbot From Other Devices?

Once the host computer is running, any phone, tablet, or laptop on the same network can open the chat page. All you need is the host computer's local IP address, which identifies that machine on your network. 

First, find that address on the host computer. Open the command window and run:

ipconfig

On a Mac or Linux machine, use ifconfig or ip addr instead. Look for your active connection, usually labelled Wi-Fi or Ethernet, and find the line marked IPv4 Address. It normally looks something like 192.168.1.15 or 10.0.0.8.
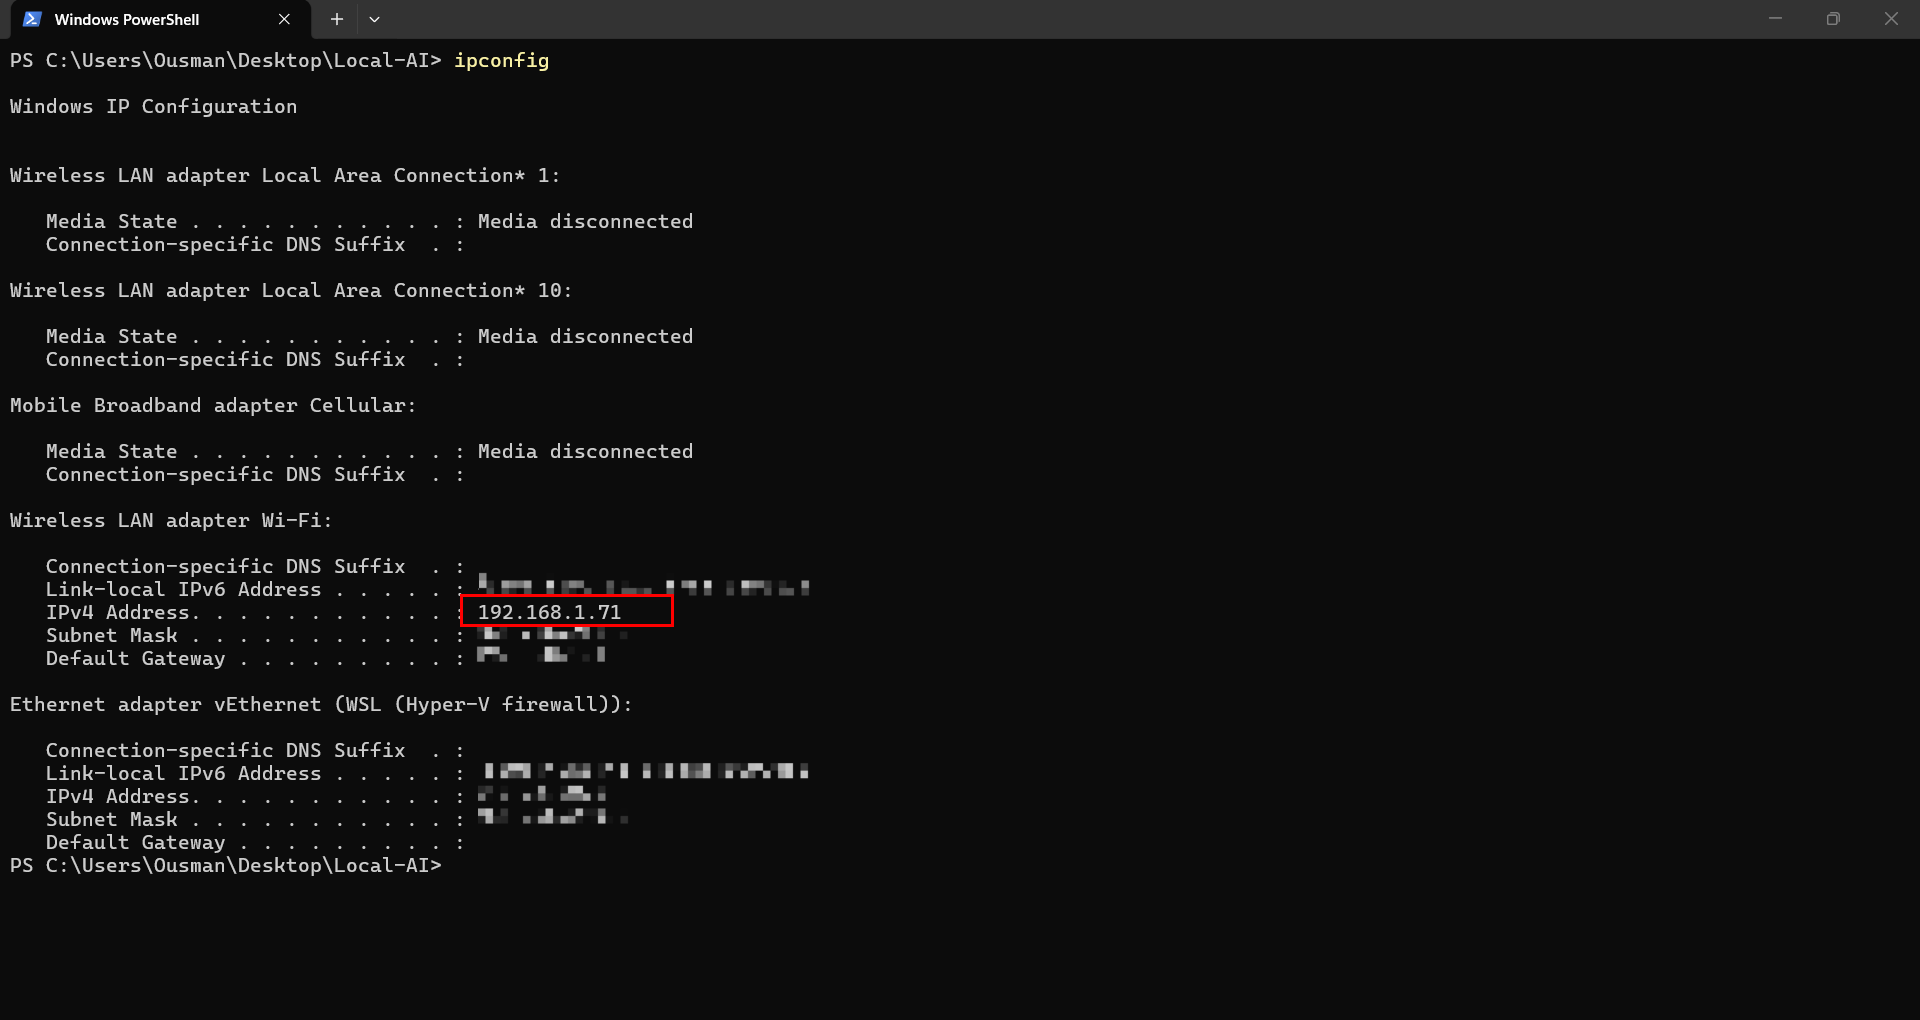
Windows PowerShell showing the ipconfig command with the computer’s local IPv4 address highlighted.

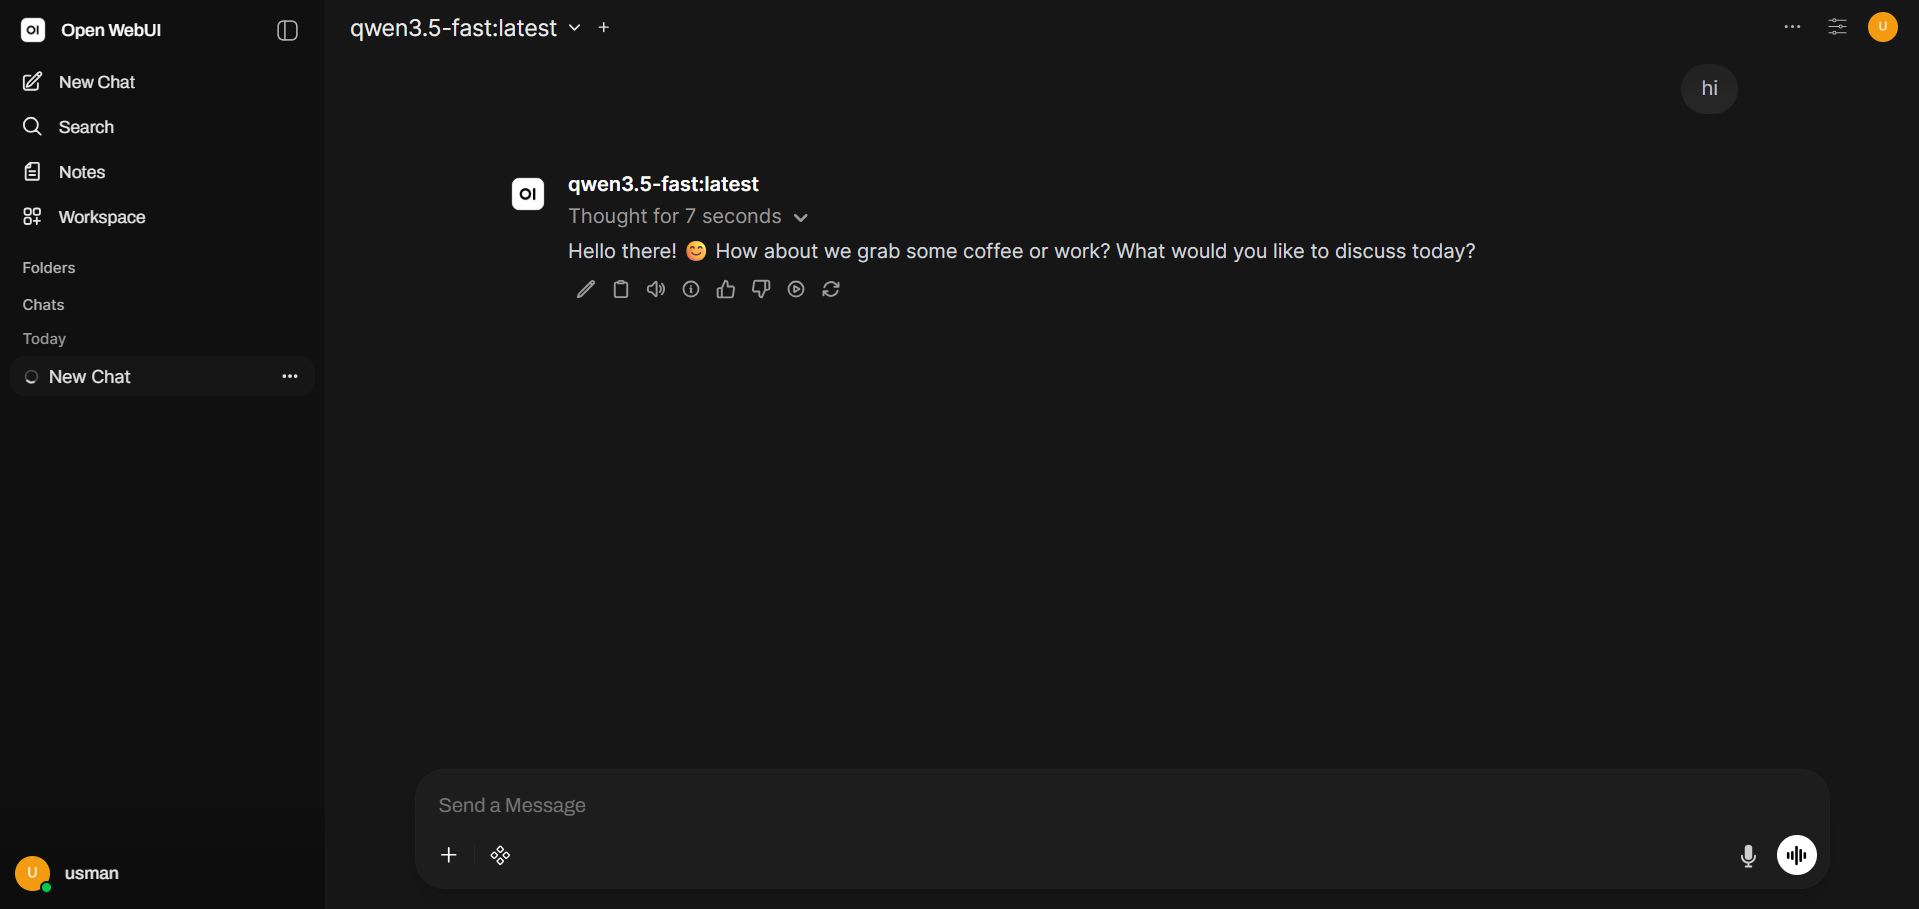
Now pick up another device on the same Wi-Fi, open its browser, and type that address followed by :3000. For example:

http://192.168.1.15:3000

Swap in your own numbers, and that is it. Open WebUI running a private Qwen local AI model and responding to a test message in the browser.
Everyday Commands you’ll need

You only need a handful of commands to run this day to day.

Start the chatbot:

docker compose up -d

Stop the chatbot, without deleting anything:

docker compose down

See how much memory and processor it is using:

docker stats

Press Ctrl + C to leave that view.

Download or refresh the model by hand, if you ever need to:

docker exec -it ollama ollama pull qwen3.5:0.8b

Your accounts and your downloaded model survive a down and a later restart, because they are saved on your disk. Stopping the AI is like switching off a television. Everything is still there when you turn it back on.

Incase something goes wrong:

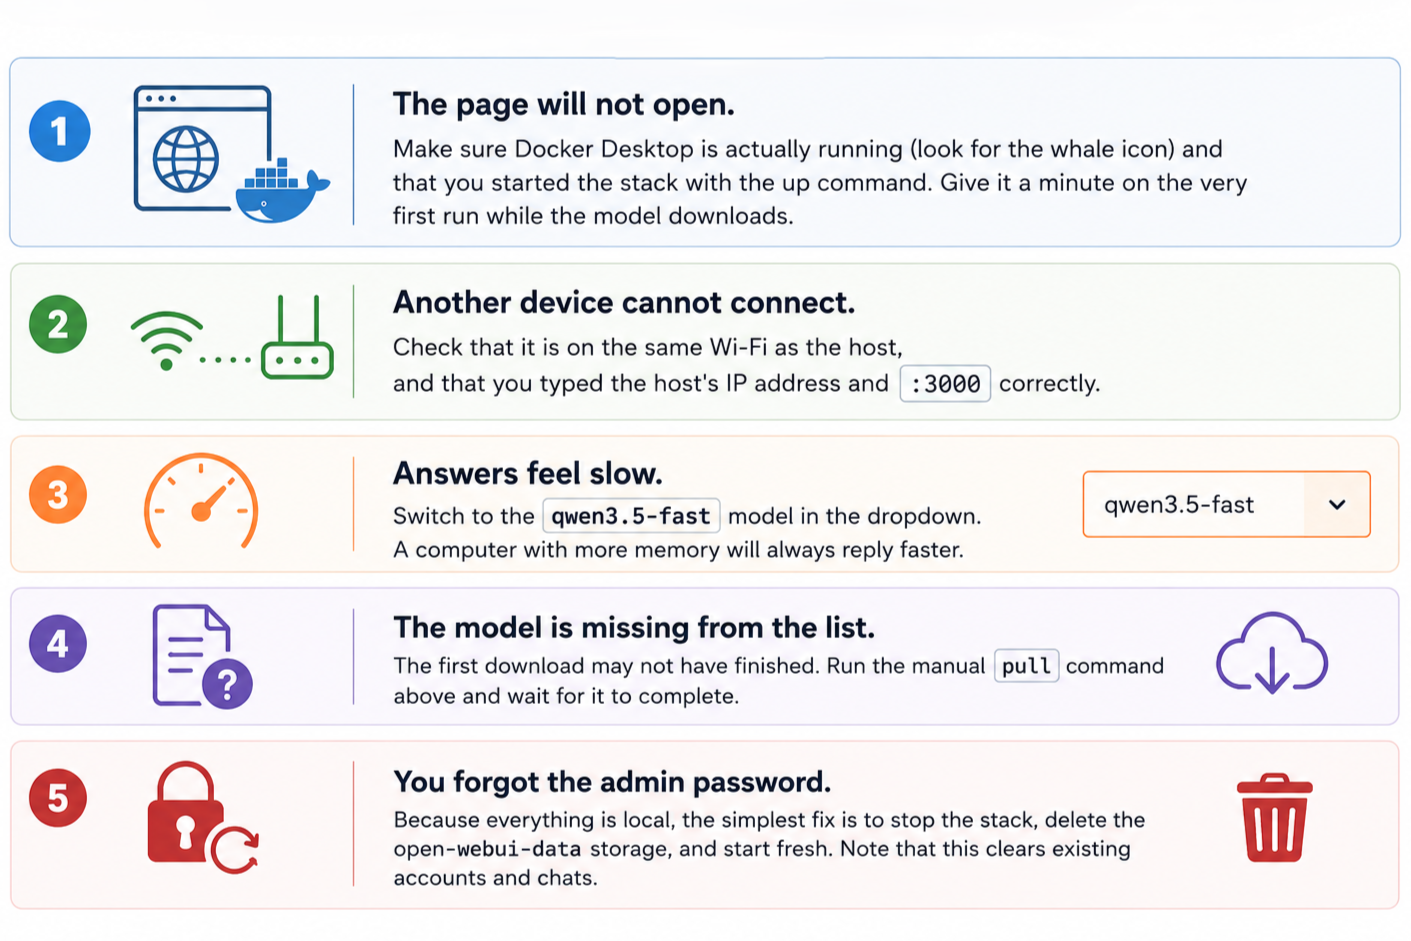
Local AI troubleshooting guide covering connection issues, slow responses, missing models, and forgotten admin passwords.

A Few Honest Trade-Offs

This is a real, working setup, but it is not free of cost or limits, and it helps to know them before you start so nothing surprises you later. Each one is manageable for home or office use. Knowing them upfront sets the right expectations.

  • The small model handles quick questions, drafting, summarising, and learning well, but it is not as sharp as the large paid services for heavy or technical work.
  • You need a host computer with at least 16 GB of RAM, plus a dedicated GPU if you later want bigger models to run smoothly.
  • The host has to stay powered on whenever anyone uses the AI, so it adds to your electricity bill.
  • Replies are only as fast as the host's memory and processor, and an underpowered machine will feel slow.
  • Everyone shares the same engine and takes turns for the actual processing, so several people at once can mean a short wait.

You can swap in a bigger, smarter model later without changing anything else and If you have reached the point where you want this running as a real tool for your team, it might need some extra work which falls under AI app development.

You Are Done

What you just built is the home version. For a household or a small office, it is all you need. The business version is a different job. A private LLM running on your own company data, behind your own login, with nothing leaving your network. This brings up questions a setup guide cannot answer. Which model fits your data, how much hardware it needs, and who gets access once a whole team is using it.

The answer to these depend on what your data looks like and how your team works.If you want to discuss your use case and shape out the exact specifics, our AI experts are your ideal partners.

Book a Free 30-Minute Meeting

Discover how our services can support your goals — no strings attached. Schedule your free 30-minute consultation today and let's explore the possibilities.

Book a Free Call

Frequently Asked Questions

It depends on what you want from it. If privacy, no monthly fee, and working offline matter to you, a local setup is worth it. If you need the sharpest possible answers on hard technical work, the big paid services are still ahead. 

A small model runs fine on 16 GB of RAM with no graphics card at all. A quantized 7B model fits in roughly 4 to 5 GB of VRAM, so 6 GB is enough for the small-to-mid models most people use, and bigger models need more. 

Yes. The model in this guide runs on the CPU alone. The CPU handles this model on its own. A GPU mainly helps with larger models, where it makes replies faster.

The software and the model are free.There are no subscriptions and no per-message charges. Your real costs are the computer you already own, the electricity to keep it powered on.

Only the first download needs a connection, and after that the model runs completely offline, apart from any later updates you choose to make.

Start with the small model in this guide, which is built for ordinary hardware. When you want sharper answers, pull a bigger model from the same family with the same command and pick it from the dropdown. Larger models are smarter but need more VRAM.

Book Consultation